Episode 2: Hello World!
In this episode, you write your first g.Pype script and run it.
Start with a blank Python file in VS Code and follow the steps below to create a minimal g.Pype application.
Every g.Pype script starts with importing the gpype library.
Use the short alias gp for convenience.
1import gpype as gp
Create a signal source using a Generator with parameter signal_amplitude=25, which will produce a
sinusoidal test signal with amplitude 25 and default frequency of 10 Hz for your pipeline.
Also, set up a TimeSeriesScope, a visualization widget that will display the generated signal in real time.
5    source = gp.Generator(signal_amplitude=25)
6    scope = gp.TimeSeriesScope()
Connect the source to the scope using the pipeline’s connect method. This step ensures that the data produced by the Generator will be sent directly to the TimeSeriesScope, so you can observe the signal in real time once the pipeline is running. Note that connecting the nodes implicity adds them to the pipeline.
7 p.connect(source, scope)
By adding the scope to the MainApp, it will become visible in the user interface window when the MainApp runs.
8 app.add_widget(scope)
Finally, tell the Pipeline to start and the MainApp to run. This ensures that data processing begins and the user interface window opens. Once the MainApp window is closed, the Pipeline is stopped gracefully, cleaning up all resources.
 9    p.start()
10    app.run()  # blocking until window is closed
11    p.stop()
Eleven lines of code to create a simple g.Pype application. You are now ready to run it.
Execute your Python script in VS Code by pressing the F5 key or navigating to the Run and Debug panel (CTRL+Shift+D), followed by clicking the play button. The g.Pype application will now start, and you should see the time series scope displaying the generated signal in real time.
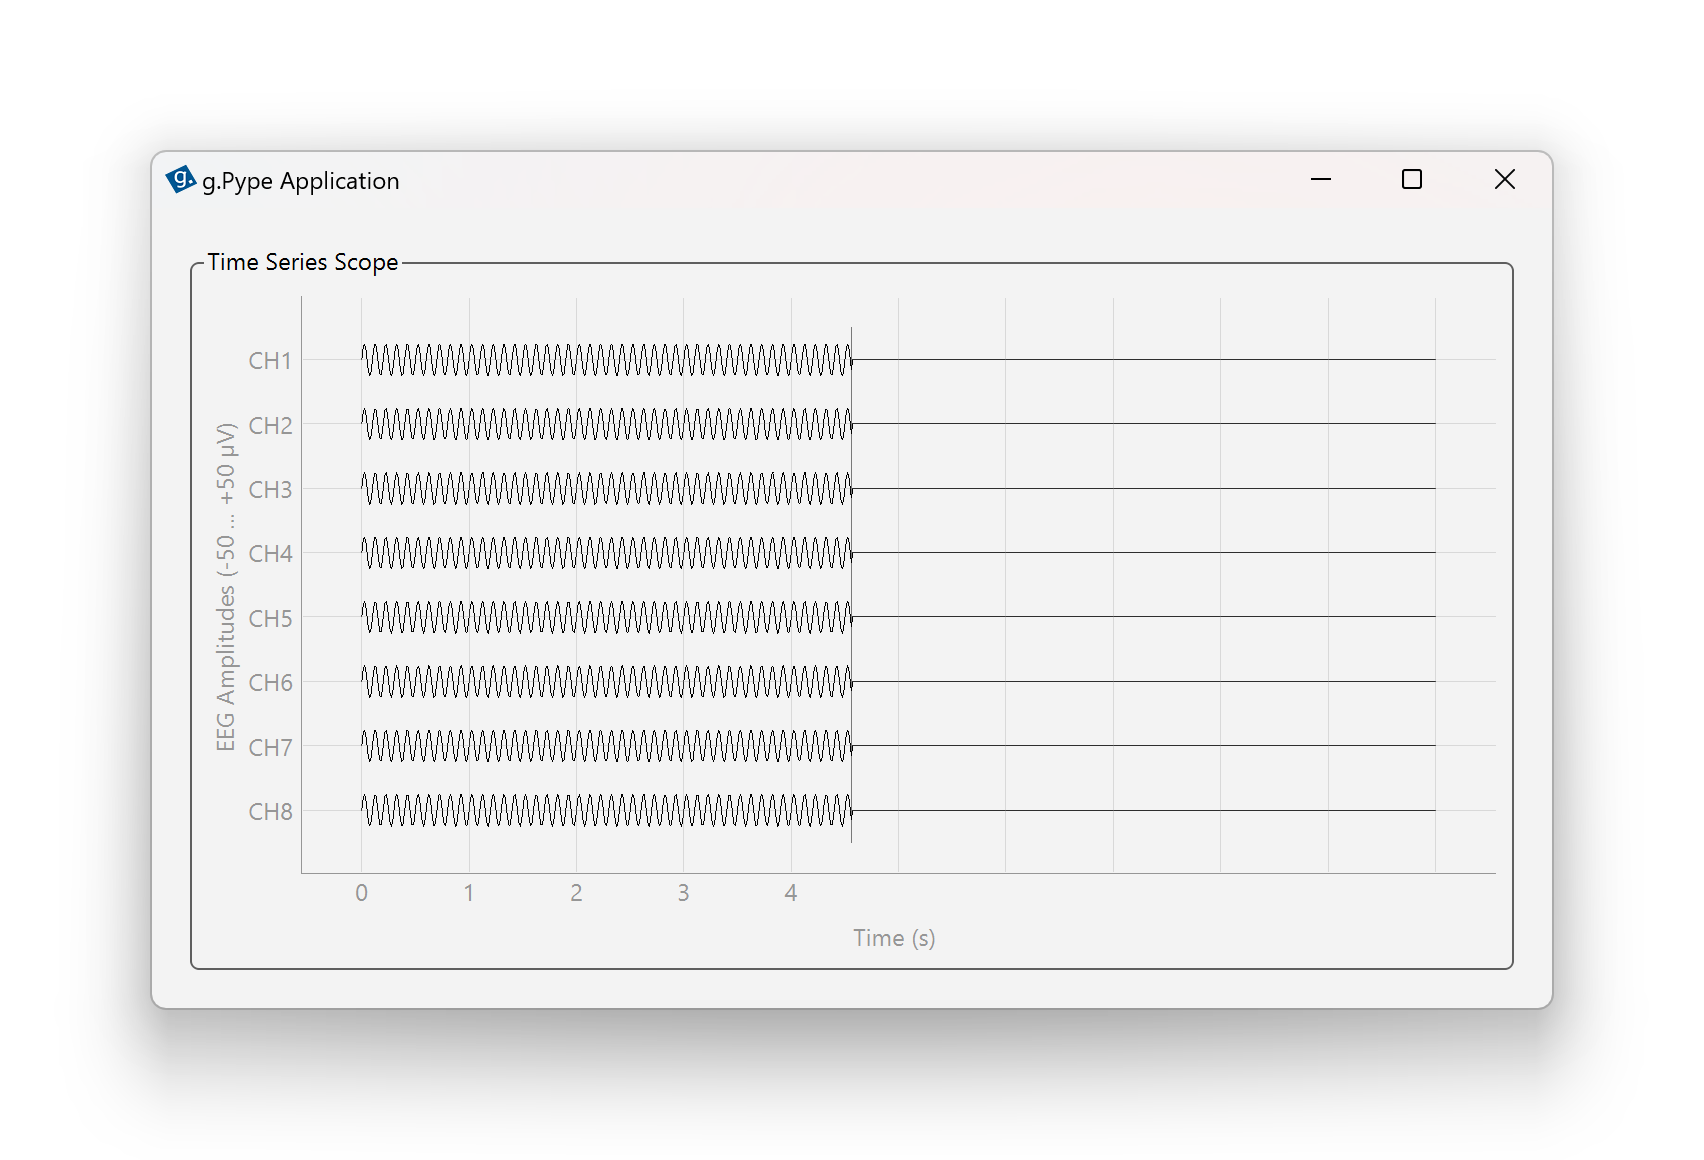
Figure 1: Hello World! A minimal g.Pype application running with a signal generator and time series scope.
In this episode, you learned how to:
Set up a minimal g.Pype application
Create a signal source and a real-time scope
Connect components and run the app
This forms the foundation for all future g.Pype scripts.
Done! Proceed to the next episode to explore signal generation with Generator in more detail.
File s1e2_hello_world.py – View file on GitHub
 1# --------------------------------------------------------------
 2# Example file s1e2_hello_world.py
 3# For details and usage, see g.Pype Training Season 1, Episode 2
 4# --------------------------------------------------------------
 5
 6import gpype as gp
 7
 8if __name__ == "__main__":
 9
10    # Create main app and pipeline
11    app = gp.MainApp()
12    p = gp.Pipeline()
13
14    # Create signal source and scope
15    source = gp.Generator(signal_amplitude=25)
16    scope = gp.TimeSeriesScope()
17
18    # Connect nodes
19    p.connect(source, scope)
20
21    # Add widget to main app
22    app.add_widget(scope)
23
24    # Start pipeline and run application
25    p.start()
26    app.run()  # blocking until window is closed
27    p.stop()